Almost every overland build ends up needing power that doesn’t come from the starter battery: a fridge running day and night, lights at camp, phones, cameras, maybe a laptop or a diesel heater. That’s the job of a 12V auxiliary system. It doesn’t have to be complicated, but it does need to be planned in the right order. This guide walks through the five parts of a system, how they fit together, and the mistakes that cause most problems.
The five parts of a 12V system
| Part | What it does | Typical options |
|---|---|---|
| Auxiliary battery | Stores energy separately from the starter battery | LiFePO4 lithium or AGM |
| Charging | Refills the battery | DC-DC charger from the alternator, solar with a regulator, mains charger at home or campsites |
| Protection | Stops a fault becoming a fire | Fuses or circuit breakers, correctly sized cable |
| Distribution | Gets power to your accessories | Fuse block, Anderson plugs, 12V sockets, USB outlets |
| Monitoring | Tells you what’s left | Shunt-based battery monitor |
An inverter, for 230V or 120V appliances, is optional and the first thing to leave out if you can. Converting 12V to mains voltage wastes energy, so it’s better to charge laptops and devices with 12V or USB-C chargers where possible.
Step 1: Work out what you actually use
Everything else follows from your daily energy use. List every device, how much power it draws and how long it runs, and add it up in amp-hours (Ah) or watt-hours (Wh). In most builds the fridge is the biggest load by far, and it uses noticeably more in hot weather. Our LiFePO4 sizing guide goes through the maths step by step, including how much margin to add.
Be honest about how you travel. Two nights at a campsite between long driving days needs a very different system from a week parked in the shade.
Step 2: Choose the battery
For most new builds, lithium iron phosphate (LiFePO4) is now the default. It gives you close to its full rated capacity, weighs roughly a third of an AGM of the same rating and lasts for thousands of cycles. AGM is still cheaper up front and handles freezing temperatures better. Our lithium vs AGM comparison covers the trade-offs in detail.
Size the battery so a normal day uses no more than about half to two-thirds of its usable capacity. That leaves room for cloudy days and stops you running it flat every night.
Step 3: Plan the charging
From the alternator
Most overlanders charge mainly while driving. Older vehicles could use a simple isolator, but modern vehicles with smart (variable-voltage) alternators, and any lithium battery, need a DC-DC charger. It boosts and regulates the alternator’s output into the right charging profile for the auxiliary battery. Charger size is usually quoted in amps (20A, 25A, 40A, 50A): roughly, a 25A charger puts back about 25Ah for each hour of driving if the battery can accept it.
From solar
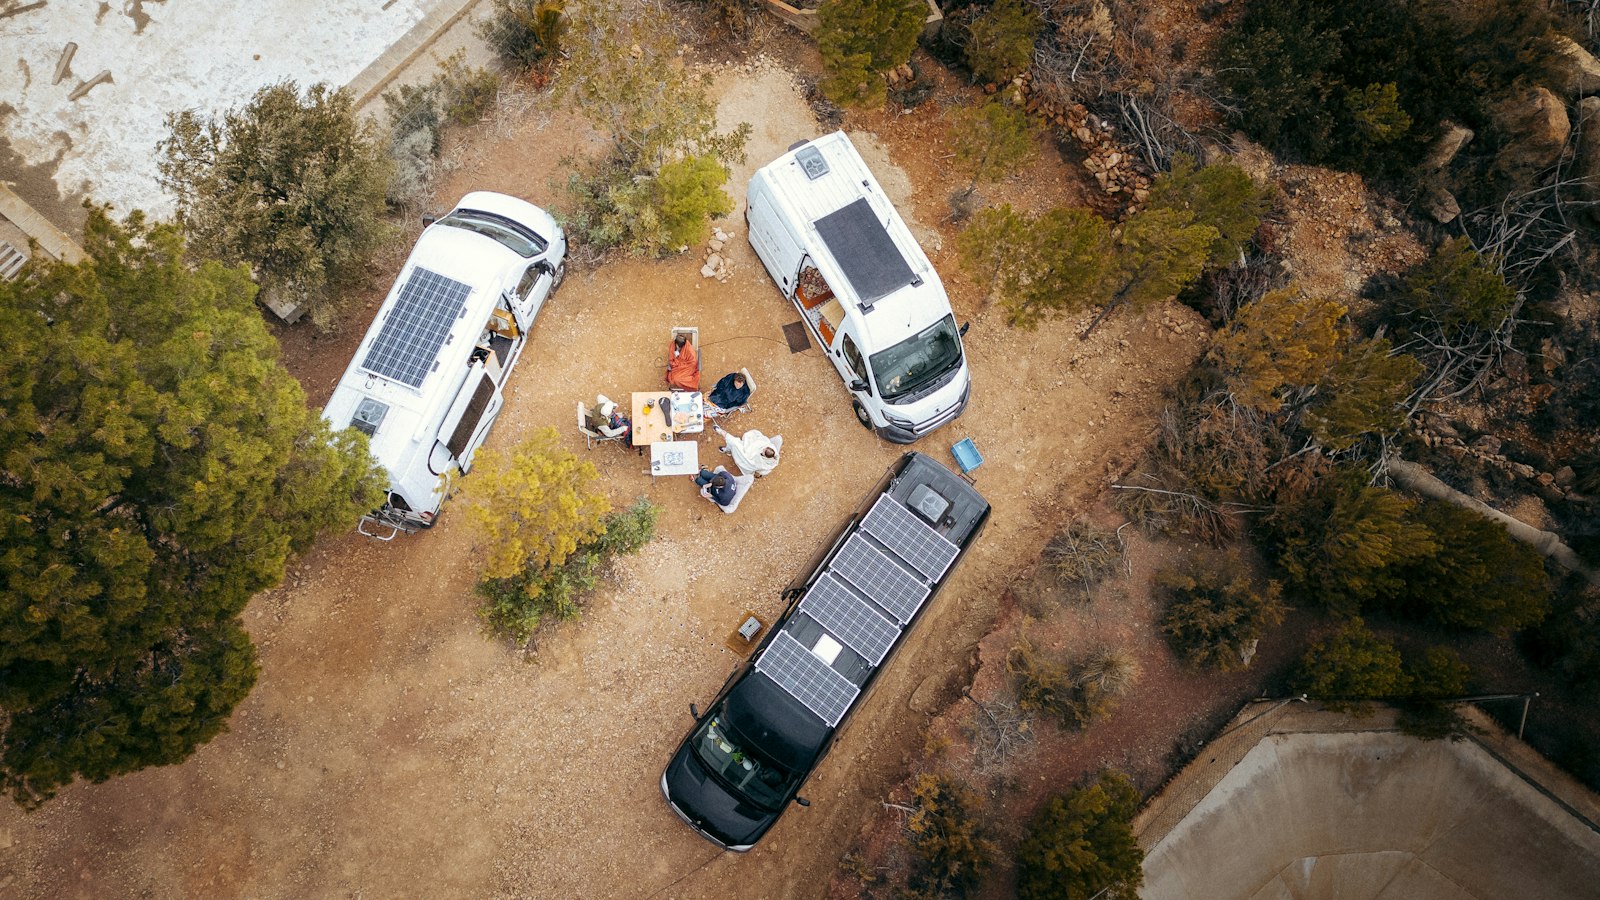
Solar keeps the battery topped up when you’re parked. Panels can be fixed to the roof, where they charge all day without any effort, or portable, so you can park the vehicle in the shade and put the panel in the sun. Many DC-DC chargers include a solar regulator; otherwise you’ll need a separate MPPT regulator. A common starting point is 150W to 200W of solar per 100Ah of lithium battery, but your location, season and shade matter more than any rule of thumb.
From the mains
A mains charger at home or at a powered campsite lets you start every trip with a full battery. It’s an inexpensive addition that’s easy to forget.
Step 4: Protect and wire it properly
Most 12V problems are wiring problems. A few rules cover most of them:
- Fuse every positive cable at the battery end, as close to the battery as practical. The fuse protects the cable, so size it to the cable, not just the device.
- Size cable for current and length. Long runs from the starter battery at the front to an auxiliary battery in the back need thick cable, or voltage drop will slow charging.
- Use proper crimps and lugs and protect cables where they pass through metal or rub on edges.
- Keep a good earth. Many intermittent faults come from a poor ground connection.
If you’re not confident with cable sizing and fusing, a pre-wired power panel is one way to avoid mistakes. We covered one option in our look at REDARC’s REDWorks panels. Otherwise, it’s worth paying an auto electrician for this part.
Step 5: Monitor what’s left
Battery voltage is a poor fuel gauge, especially for lithium, whose voltage stays almost flat until it’s nearly empty. A battery monitor with a shunt measures the current going in and out and shows a real state of charge. It’s the single most useful upgrade for understanding your system, and it quickly shows whether your daily-use estimate was right.
All-in-one alternatives
- Pre-wired power panels put the charger, monitor and fusing on one plate. You still supply the battery and the cable run from the front.
- Portable power stations combine battery, charger, inverter and outlets in one box. They’re easy to move between vehicles and need no installation, but they’re usually less efficient to charge from the vehicle and take up cabin space.
Common mistakes
- Buying the battery first and working out daily use later.
- Using a simple isolator on a vehicle with a smart alternator.
- Undersized cable on a long run, so the battery never fully charges while driving.
- Missing fuses, or fuses at the wrong end of the cable.
- Relying on voltage to judge how full a lithium battery is.
Quick answers
Do I need a DC-DC charger?
If your vehicle has a smart alternator or you’re using a lithium auxiliary battery, yes in most cases. It charges the auxiliary battery properly and protects both batteries.
How big should my auxiliary battery be?
Big enough that a normal day uses no more than about half to two-thirds of its usable capacity. Work out your daily use first.
Is solar necessary?
Not if you drive most days. It becomes important when you stay in one place for more than a day or two.
This is a general guide. Always follow the installation instructions for your specific products, and use a qualified auto electrician if you’re unsure.
Featured photo: Erik Fabian on Unsplash.
Leave a Reply
You must be logged in to post a comment.